Well It has been awhile since my last post was busy with other things than my fun crafts. Started doing some sewing again picking up ideas on Pinterest. That place is addicting without a doubt. Seems like you go there for a second and it ends up an hour or more. Where did the time go. Anyway out here on web could not get this new blog set up to work last night so hitting it today. We just had a "Tropical Storm" blow through here last night only had a good size tree branch hit the ground, go a dead pine in backyard figured some part of it might have fallen, but of course it is still looking like it did before the storm tall and dead. We got some good winds after midnight and steady rain from about 8:00 pm till this morning about 5:00. It is sprinkling right now we are sitting at 100% chance of rain (duh) today!! Big surprise on that guess.
Back to why I am out here again, went to a bloggers site called
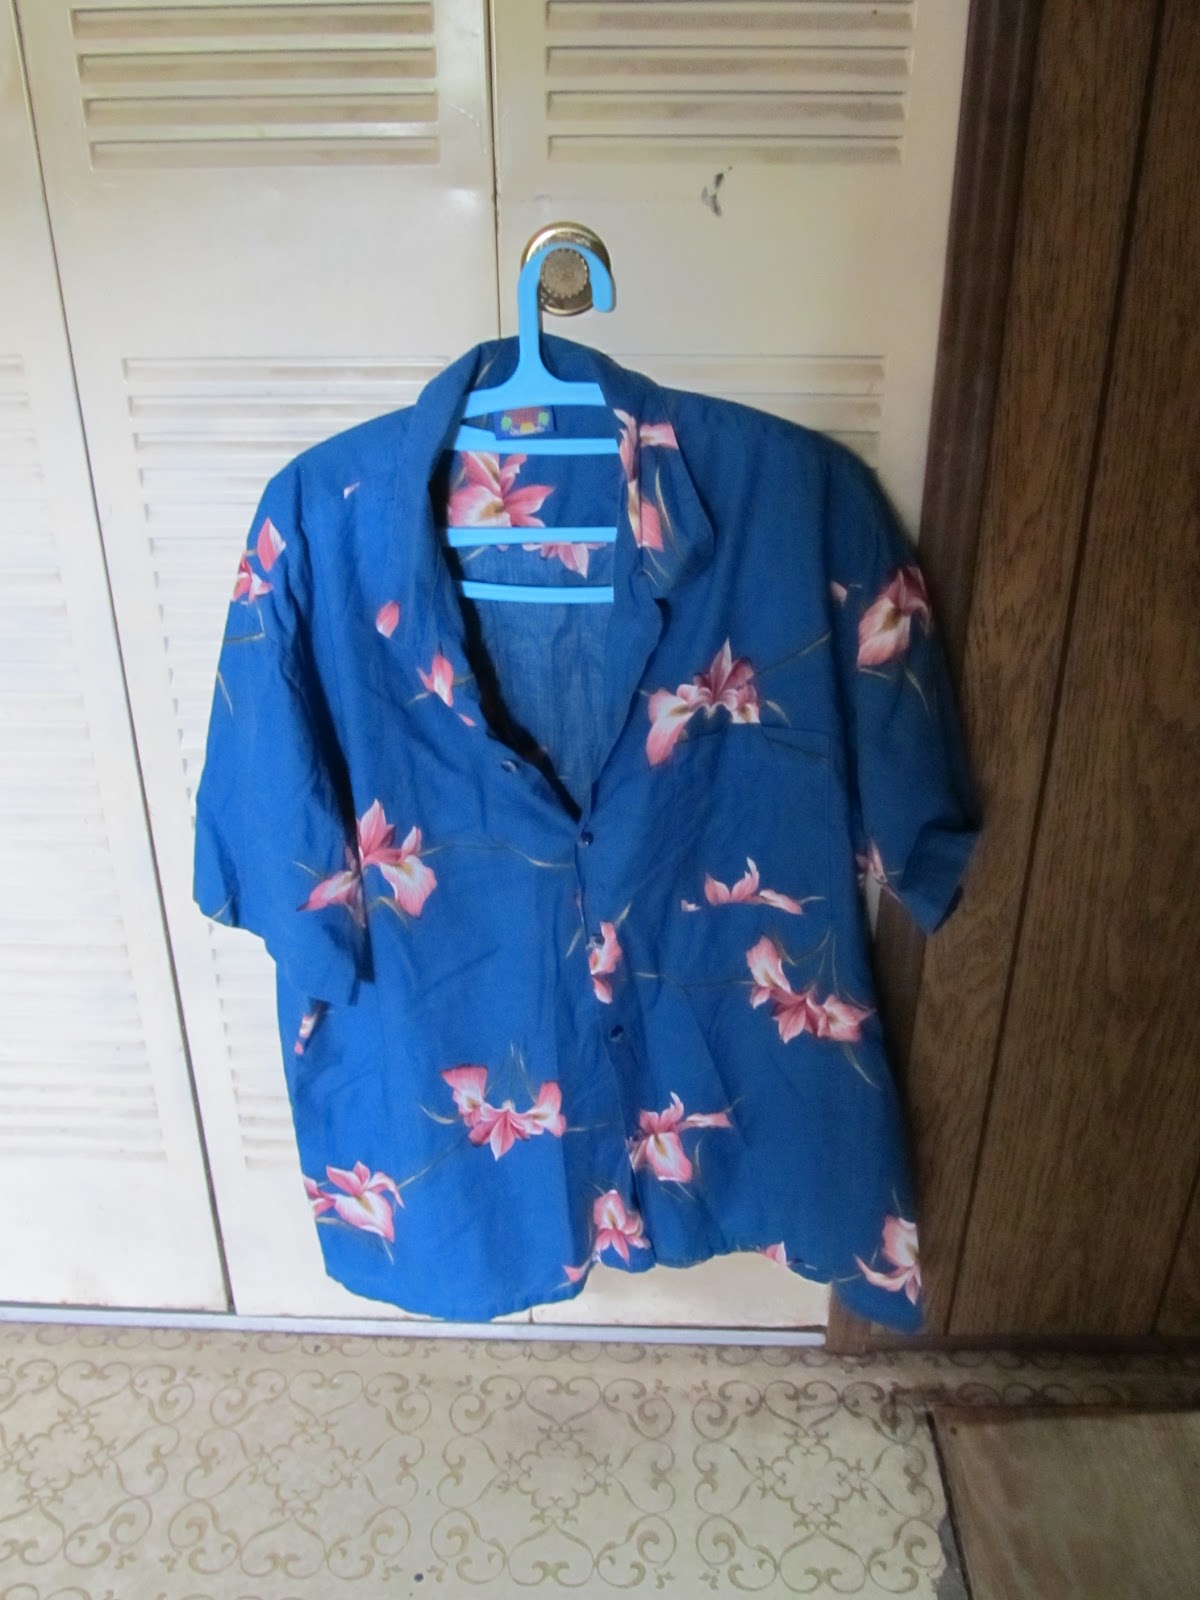
Sugar Bees she does some sewing, recipes,and decorating , she had refashioned a man's tee into a cute shirred side tee. On her site she had a tutorial on how to basically accomplish the look she had so well achieved. I have a Singer 301 which makes doing some things a little difficult where in this instance since I have never shirred before I was in a new world. Checked out a few tutorials on how to shirr ( not sure of spelling or if that is a word) and tried setting my machine as so. Well it ended up eating my thread causing it to freeze up. So after an hour of taking a few screws out and getting the thread out of the bobbin I was free (Hahahaha) to sew again. Ended up taking machine back to the usual settings and put the foot back on put the feed dogs back up. The shirt I found at my favorite place a big thrift store that runs a 50% off sale on all tags except a particular color that day Saturdays tags were green so of course the really cute stuff was green tagged so you paid for what the tag read. Any way found this cute tee had this swirly design at neck it was a Columbia tee not super thin material, but liked the color and only paid $2.00 for is so thought what the heck if I mess it up no loss.

Got the swirly design drawn on with a pen nothing in my house would show up on it so went to sewing the area with the elastic thread that would eventually be the scrunched up area of interest of this tee. got it done and also decided needed to take in the sleeves. They were a little long so decided to shirr them also up one side and down the other, I had become a shirring machine. Doing the swirly shirring was a bit of a trick, Mandy said she ended up eye balling it which I also did. just kinda zig ,zagged in swirls and scoops...anyway it turned out kinda neat and I think it works. I am not a spokes model and do not plan to be but hopefully you get the point of the shirt. should have taken more before and then the after but who knew it was going to work out this good....I may try it again...cya later

 Thought about shirring under the bust to make it have a little more shape so put it on a safety pinned it just under the breast and it looked pretty cute but then started thinking where I usually get into trouble it was going to take up too much material and then it would look snug. So went to plan "B" I made a tuck or pleat under each breast to give more shape but not take up a lot of the material. After getting that negotiated measured down from center of shoulder about 15 inches approx measurement of safety pin, then over 7 inches from the side seam this made a center point. From here I drew a straight line across the shirt approx 3 inches long from the center point of that line marked 1 1/2 inches from there left and then right too give me my fold in point, folded it from the outside edge to the center line going up and down did the same for the other side of this pleat. Did same measurements for the other side to make a matching pleat. Pinned both pleats with straight pins then biased the area to get a fit. Looked pretty good for first go around. Also stitched the front of the shirt closed the girls have a habit of trying to expand their horizons and would rather they stay supervised. Just hate it when button shirts gap that has drove me crazy most of my life. So now it is a very short trip I do not plan to take in near future. Now back to the shirt and leaving mental health to another day....decided it was a bit too long you know how Stacy and Clinton are always telling you long shirts make you look shorter well took approx 5 inches off split the sides and opened them up then hemmed the whole thing just made it that more comfortable.
